Learn how to schedule Instagram posts directly from Canva to save time and streamline your workflow. Discover why starting with established Instagram accounts can maximize your content reach.
Social media management can quickly turn into a full time job if you do not have a streamlined workflow. Between brainstorming ideas, creating graphics, writing captions, and remembering to post at the perfect time, it is easy to feel completely overwhelmed. Many creators and business owners find themselves stuck in a cycle of constant downloading and uploading. You design a beautiful graphic on your computer, download it to your hard drive, send it to your phone, and then manually publish it on Instagram.
Thankfully, you can eliminate a lot of those unnecessary steps by planning your feed in advance. Connecting your design workspace with your publishing schedule allows you to handle everything in one central dashboard. In this guide, we will look at how you can use the built in planning tools in Canva to map out your content calendar, how to connect your social media profiles for direct publishing, and how having a pre-built foundation for your page ensures your scheduled content actually gets seen.
How Do I Connect Canva To My Instagram Business Account
Before you can start automated publishing, you need to link your design dashboard with your social media presence. To do this, you will need a premium subscription like Canva Pro or Canva Business, as well as an Instagram business or creator account. If you are currently using a personal profile, you can switch over instantly through your mobile app settings for free.
To initiate the connection, open any of your completed designs and look at the top right corner of the screen for the share button. When you tap that, select the social media option and then click on Instagram. You will be prompted with two choices: scheduling from a mobile device or publishing via a desktop browser. Choosing the desktop route is generally the smoothest path for the initial setup.
Canva will ask you to connect your Instagram business account via Facebook. A pop up window will appear asking you to log into the Facebook account that is currently connected to your Instagram page. Follow the prompts, grant the necessary permissions for content management, and select the specific page you want to link. Once approved, your account will be securely saved in your workspace, meaning you will not have to repeat this login process for future posts.
Can I Schedule Instagram Reels And Carousels From Canva
The scheduling tool is highly versatile and supports various content formats, but you need to pay attention to file requirements to avoid any publishing errors. For a single image post, you can use standard JPEG or PNG formats under fifty megabytes. If you are looking to schedule a video post or an Instagram Reel, ensure your file is in MP4 format and optimized for vertical viewing, ideally with a resolution of 1080p.
When dealing with a multi page document like an educational carousel, the scheduling process follows a similar path. From the share menu, select your connected channel and choose the specific pages you want to include in your post. You can select up to ten pages to form a single carousel slide presentation.
However, you must ensure that your document only contains the specific design assets you want to publish. If you have extra draft pages or template ideas sitting at the bottom of your workspace, they will accidentally get included in the final post unless you manually uncheck those pages before hitting the final button. Taking a few extra seconds to review your selected pages will save you from an embarrassing formatting mistake on your live feed.
Why Am I Unable To Schedule Posts Directly To Instagram
If you are running into roadblocks during the setup, there are usually a few predictable reasons for the technical glitch. The most common hurdle is account categorization. If your account is still set to a personal profile, the direct publishing connection will fail automatically because Meta restrictions require a professional handshake between third party applications.
Another common issue stems from broken permissions on the Facebook side. Because Instagram business accounts are managed through the Meta framework, any changes to your password, page roles, or privacy settings on Facebook can break the bridge to Canva. If your designs are failing to publish, navigating to your sharing settings, completely unlinking the channel, and reconnecting it from scratch usually clears the system cache and resolves the error.
Lastly, keep an eye on file sizes. High resolution videos or massive graphic files with too many animated elements can occasionally timeout during the preparation phase. Keeping your image sizes under the maximum pixel limits and ensuring your video clips are tightly trimmed will keep the automated publishing process running smoothly.
How to Buy Instagram Accounts With Real Followers
You can spend hours designing the most aesthetic templates, writing deeply engaging captions, and scheduling everything to post at the absolute peak hours of user activity. But none of that effort matters if your account does not have an active audience to receive it. Posting high quality content to an empty page with zero followers is one of the quickest ways to experience creative burnout. The current algorithm is highly competitive, and breaking out of the initial single digit reach tier is incredibly difficult.
This major bottleneck is why serious business owners choose to explore verified Instagram accounts for sale instead of building an audience from absolute scratch. Purchasing a page that already contains an active community allows you to bypass the months of invisible grinding. When you look to buy instagram accounts, you want to make sure the foundation is completely clean.
Using a secure platform like SwapSocials ensures you receive an authentic profile with real, organically grown followers who belong to your specific target market. Once you secure ownership of the page, you can immediately integrate it into your design workspace. Instead of testing your content on an empty grid, your scheduled posts are dropped directly into a live, breathing feed full of real users from day one. You can stop worrying about initial follower acquisition and focus entirely on your content strategy.
How Do I Use The Canva Content Planner Calendar View
Once your profiles are fully connected, managing your long term strategy becomes much easier through the dedicated content calendar view. You can access this dashboard from the main home screen by clicking on the apps tab and selecting the content planner option. This view gives you a comprehensive monthly calendar grid showing exactly when your media is set to go live.
From this calendar view, you can tap on any specific date to create a new slot or schedule a pre-existing design. If you need to make a quick adjustment, you do not have to open the individual project file. You can simply click on the scheduled post within the calendar to edit the written caption, update the target hashtags, or change the time of day it will publish.
This macro view is excellent for maintaining a consistent visual theme across your profile. You can easily spot gaps in your timeline where you might have forgotten to plan a post, allowing you to maintain a steady presence without any sudden drops in activity. If you manage multiple social profiles, you can also filter the calendar view to show only specific channels, keeping your cross platform assets clearly organized.
Tips For Batching A Week Of Social Media Content Successfully
To get the most out of your planning tools, you should avoid creating your graphics on a day to day basis. Instead, adopt a batch production mindset where you dedicate a single block of time to handle your entire weekly output.
Start by writing down your core topics for the week on a plain piece of paper. Once your concepts are clear, open a single design document and select a cohesive group of templates that match your brand fonts and color schemes. Import all your product photography or background images into your project folders so you can quickly drag and drop them into place without searching through your desktop mid way through production.
Once the visuals are complete, write all your captions in one sitting while your mind is still focused on those specific topics. Copy those texts directly into the scheduling window, choose your target dates on the calendar, and let the automation handle the rest. By organizing your workflow into distinct phases, you will save hours of transition time and keep your brand voice incredibly consistent.
The Takeaway
Creating and scheduling Instagram posts on Canva can get a lot easier when you know how to navigate the tool and you have an audience who loves your content. This blog will fix up your first problem, and SwapSocials will take care of the rest. All you have to do is check out Instagram accounts on sale!
Wondering why your Instagram account got suspended out of nowhere? Discover the common reasons behind a ban and see how buying a verified, established page can save your business.
Thinking about rebranding your Instagram page? Here is exactly how to change your username without losing your audience, plus why buying an established account might be your best shortcut.
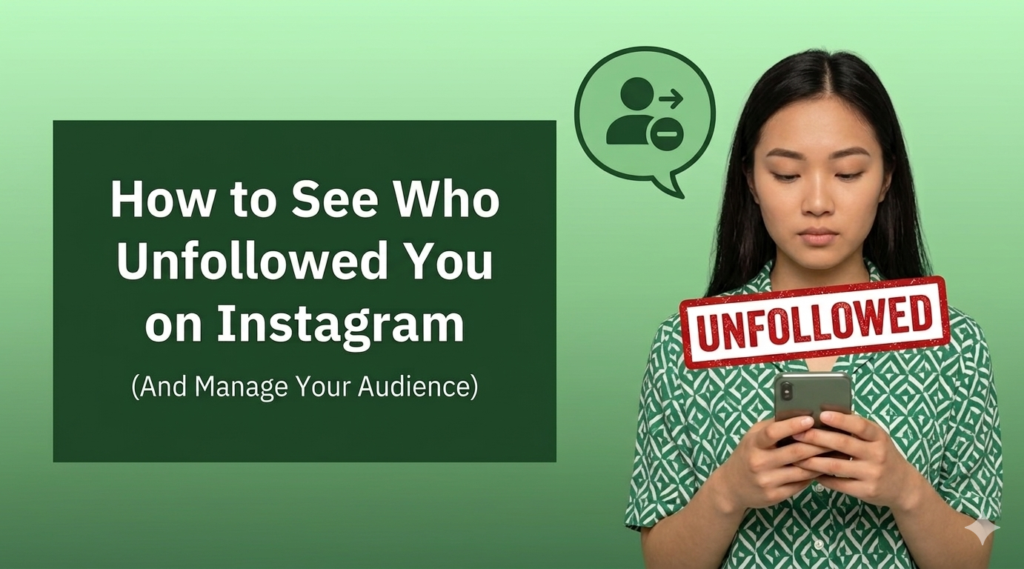
Wondering who unfollowed you on Instagram? Discover the best ways to track your unfollowers and learn how to skip the growth struggle by buying an authentic account.
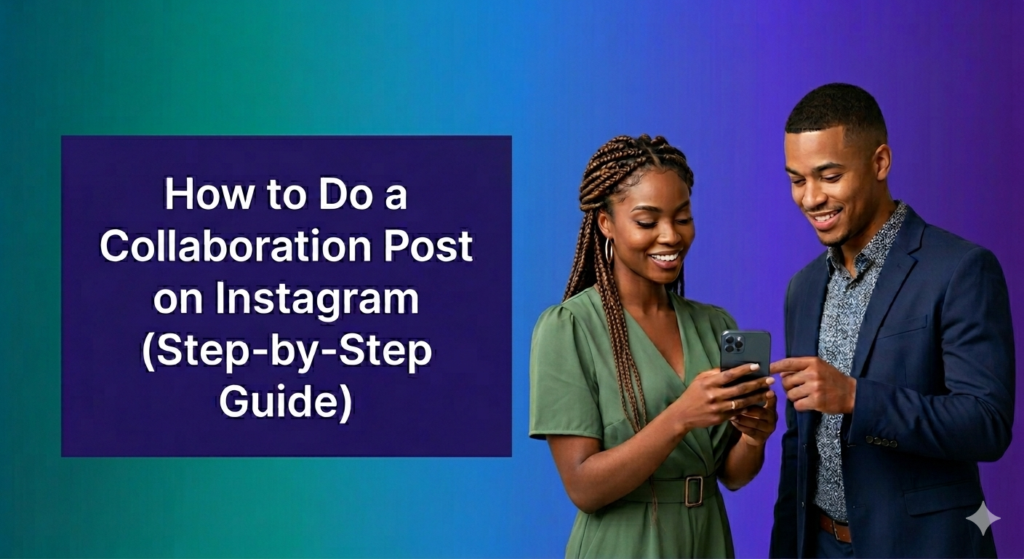
Learn how to create a collaboration post on Instagram to double your reach. Plus, discover how buying established Instagram accounts can kickstart your growth.
Missing your favorite tracks on Instagram? Discover why your music search is empty and learn exactly how to fix the no music results found error today.
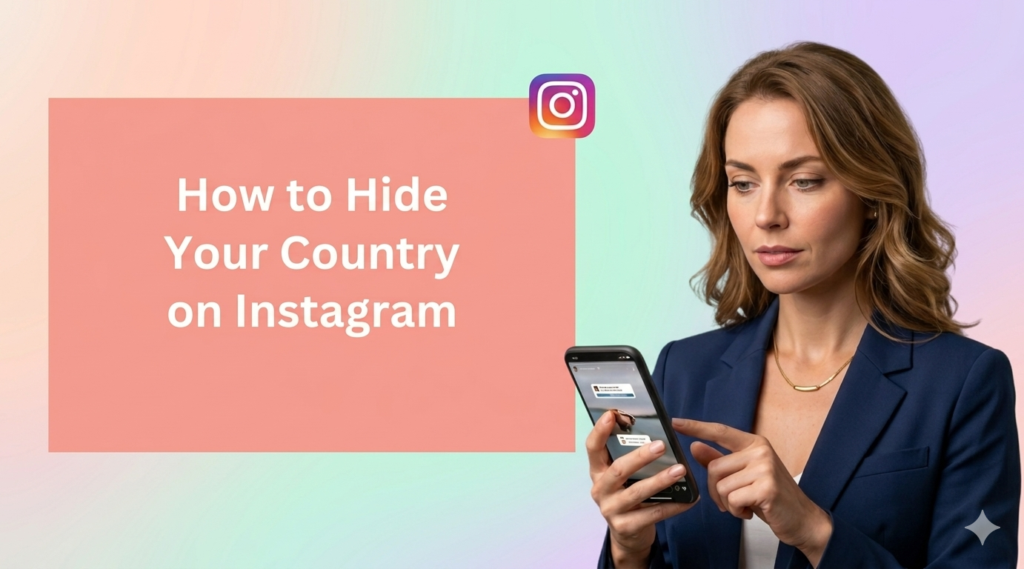
Want to keep your location private? Learn how to hide your country on Instagram and explore why starting with pre-built Instagram accounts is a game changer for global reach.
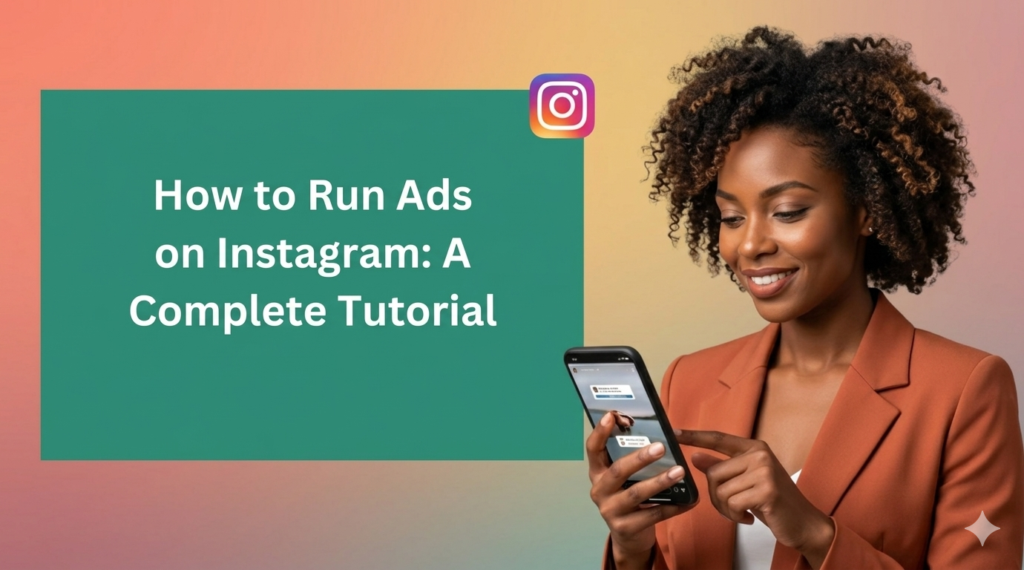
Learn how to run ads on Instagram to scale your business. Discover the complete setup, audience targeting, and how starting with established Instagram accounts can fast track your success.
Want a clean explore page? Learn how to clear Instagram search history on mobile and desktop easily, and find out how to build a real audience instantly.
Learn how to schedule Instagram posts directly from Canva to save time and streamline your workflow. Discover why starting with established Instagram accounts can maximize your content reach.
Learn how to add action buttons to your Instagram profile to drive leads and sales. Discover how starting with established Instagram accounts can bypass the growth grind.